


2010 Elementary Clay Masks

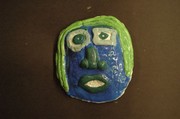

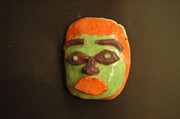
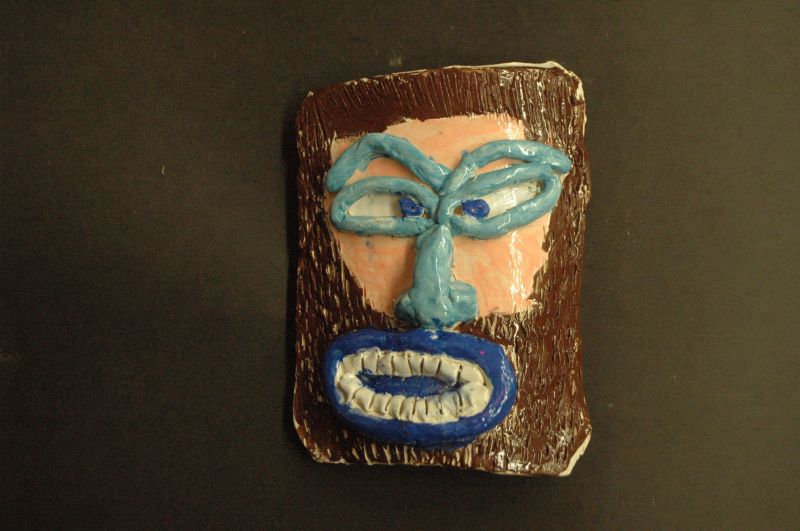
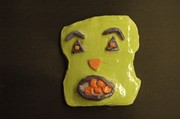
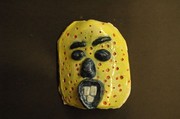
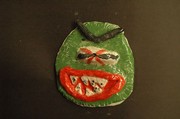
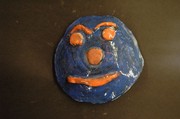
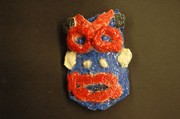
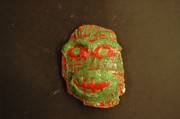
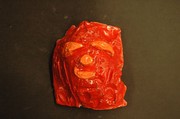
Sawyer-Triadic Color Scheme
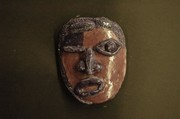
6th Grade MasksThe Third through Sixth elementary Art students recently finished their clay masks. They had started this project in November. We began by discussing faces and the features such as the eyes, nose, and mouth. We also discussed masks and how they were used in the past and how they are used now. The students viewed pictures of people showing a strong emotion such as anger or happiness and how that affected the features of the face. They then chose an emotion they wanted to portray in their clay mask and began sketching it.
The next step was learning about clay and how it works. The students were shown how to roll out their clay with a rolling pin to form the face. The students then learned about rolling out coils and how to attach them to the face. The pieces of clay are attached by a method called "scoring". The students cut grooves into the pieces of clay to be joined. This allows the grooves to mesh together to form an unbreakable bond that holds the pieces together. We had a few loose pieces but overall the students did an excellent job scoring their clay together.

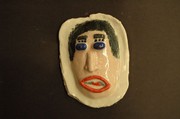
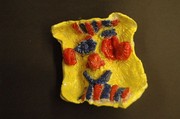
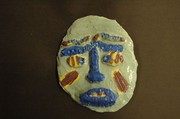
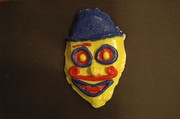
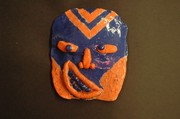
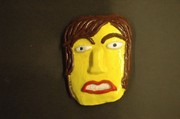
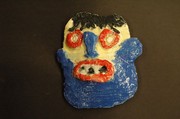
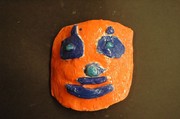
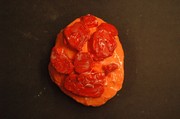
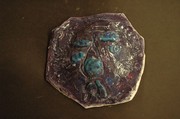
Luke-Compliment Color Scheme
5th Grade MasksThe masks were left to air dry for about two weeks. This allows all of the water to evaporate from the clay. This is important because if any water is in the clay when it's fired, it will explode! After drying the masks are wrapped up and sent to the service unit to be fired at 1500-2000 degrees in a special appliance called a kiln.
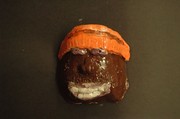
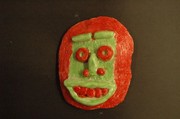
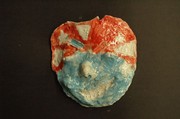
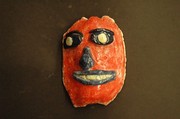
The masks return in about two weeks and are now what is called "bisque" or fired clay. Now the fun part begins, the masks are ready to be decorated! The students had to choose a color scheme that they had learned earlier in the year and decorate their mask in those colors with underglaze. They needed to chose their colors carefully to create contrast and make the features and pattern all stand out from each other. After applying two coats of underglaze, they applied two coats of transparent glaze to make the colors shiny.
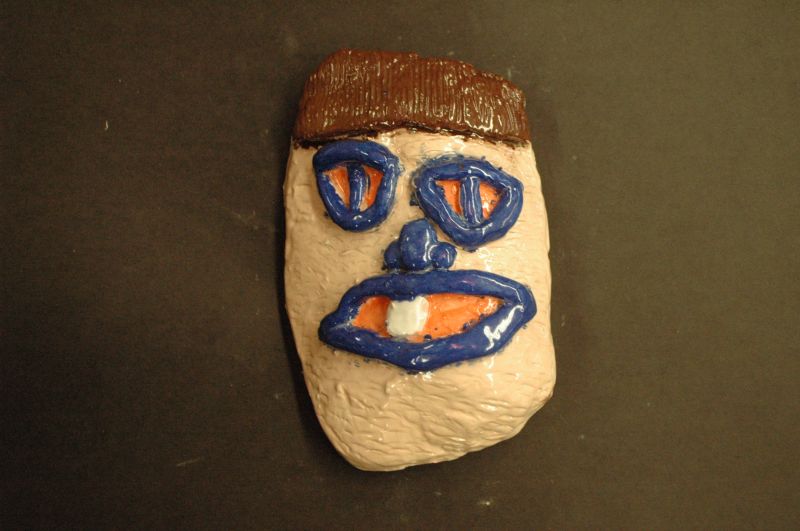

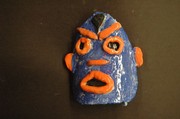
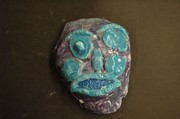
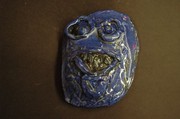
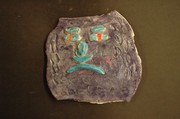
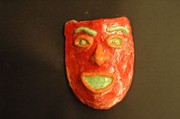
Andrew-Compliment
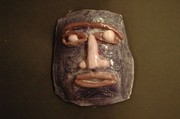
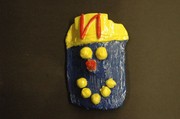
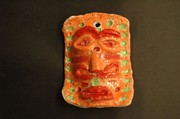
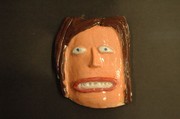
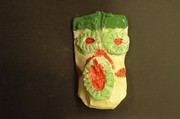
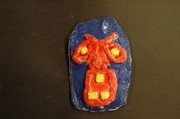
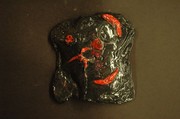
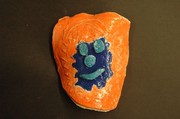
4th Grade Masks